
Statement Fixtures in Rentals: Detailing You Can Undo
You don’t drill the tile or stone. You terminate the new fixture at a mechanical interface that sits on top of the existing substrate, document what’s underneath before you touch it, and choose a mount whose failure mode is “comes loose” rather than “cracks glaze.” Everything else in this piece is detailing around that one constraint.

Why Rental Junctions Fail at Move-Out
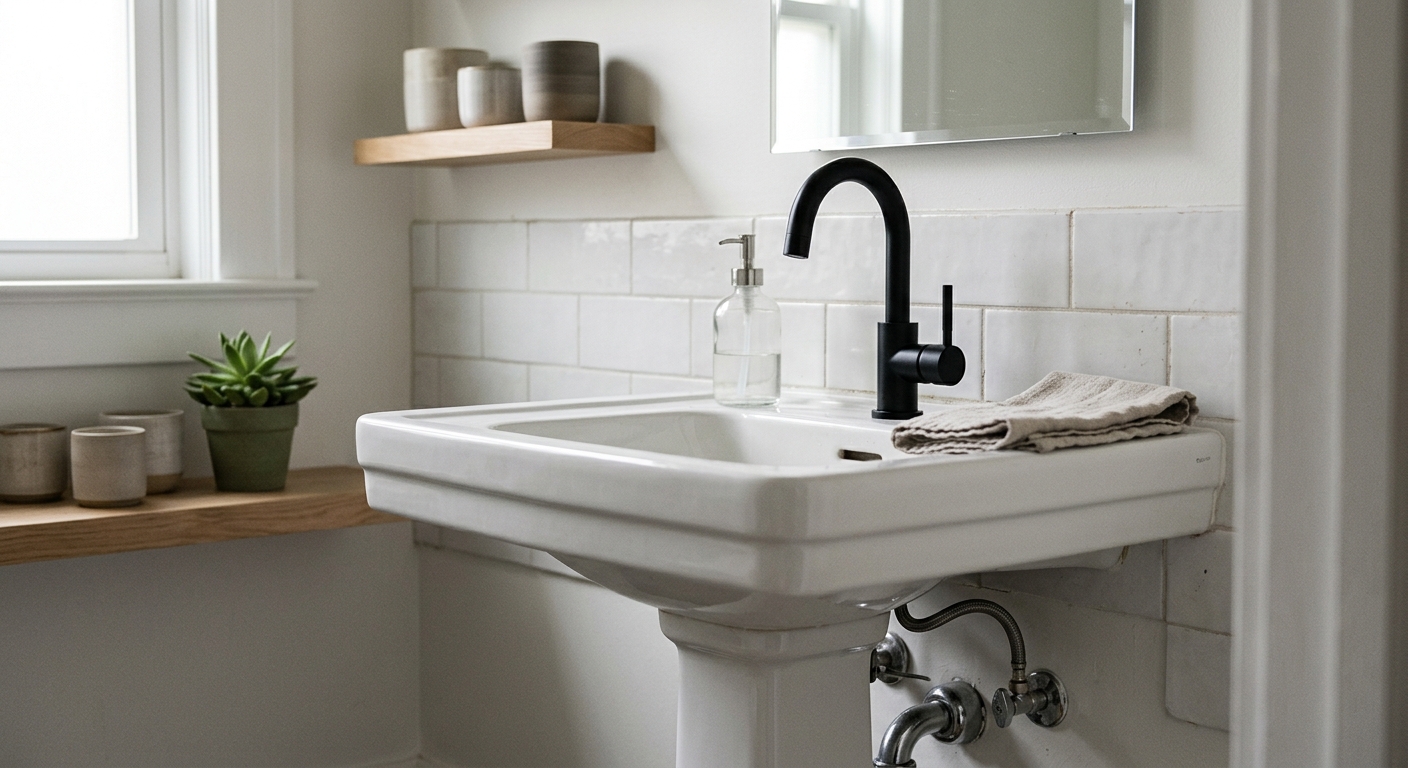
Most rental fixture swaps fail at the same point: whoever did the install didn’t plan the removal. A pendant gets wired into a junction box with a strap that matches the new canopy but not the old one. A faucet escutcheon gets caulked flush to stone because it looked cleaner, and now the sealant has to be cut out with a blade inches from a polished surface. A shower arm gets swapped and the wall flange left behind is a half-inch smaller than the ghost ring of mineral deposit around it.
Read More Read Less
None of these are installation errors in the conventional sense. The fixture works, the water doesn’t leak, the light turns on. They’re documentation and reversibility errors. The tenant treated the swap as a one-way styling decision instead of a junction that has to go back to its original state on a schedule they don’t control. For a reviewing architect or a leasing technician doing a walkthrough, the tell is always the same: witness marks that don’t match what’s currently installed.
Escutcheons Sized to Hide Old Patterns
The single most useful part in a reversible fixture swap is an oversized escutcheon. Standard supply escutcheons run 2 1/4 to 2 1/2 inches OD, sized to clear a typical valve stem and cover a tidy rough-in hole. Rental work calls for something closer to 3 inches OD, because you are very often not covering a clean rough-in: you’re covering the ghost pattern of silicone residue, a slightly oversized hole from a previous fixture, or minor spalling at a tile edge where someone over-torqued a set screw.
Read More Read Less
Specify the escutcheon by OD against the actual hole or disturbance diameter, not against the pipe or stem diameter alone. A 3-inch OD plate with a inch of overlap past the largest visible disturbance gives you margin without looking oversized on a typical 4×4 or 6×6 tile module. On stone, where veining and polish variation make patch-matching harder, oversizing the escutcheon is cheaper and faster than any cosmetic repair, and it’s fully reversible since it is mechanically retained, not bonded.


Tension and Clamp Mounts Over Tile
For anything that doesn’t carry water or current through a wall penetration, skip the anchor question entirely and go to tension. Tension rods and clamp-style fixtures (shower caddies, some pot-filler-style add-ons used purely for display, open shelving) rely on compressive force against two opposing surfaces, not fasteners into either one. The load path has to be checked for the actual surfaces involved; tile faces and stone faces have different friction coefficients and different tolerance for point loading at the pads, so get the manufacturer’s rated clamp range and compare it to your actual span, not just the stated “fits walls 24 to 96 inches” range.
Read More Read Less
Where a light fixture needs real support and the existing junction box is usable, a strap or mounting bar that re-uses the original box’s screw holes is the better move than any adhesive or anchor, because the junction box itself is permanent infrastructure you’re not disturbing. The swap stays entirely within hardware that was already designed to be opened and closed.
Expansion Anchors vs Adhesive in Grout
When a true fastener into the wall is unavoidable, the substrate decision matters more than the anchor brand. Plastic expansion anchors are rated for a hollow or semi-hollow backing; they work by expanding against the inside face of a cavity, which means they’re appropriate for hollow tile backer or a stud-backed hollow wall assembly, not for solid stone or dense cement board with no cavity behind it. Driving an expansion anchor into solid stone doesn’t give you the holding power the rating implies and risks spalling the stone face on removal, which is the one outcome you’re trying to avoid entirely.
Read More Read Less
For solid or dense substrates, a removable mounting adhesive rated for vertical load is the better choice, but the rating has to specify vertical shear and sustained load, not just a static weight limit tested with the part lying flat. A faucet or light fixture hanging off a wall is a cantilevered load working against the adhesive’s shear strength over time, not a dead weight sitting on a shelf. Read the technical data sheet, not the packaging claim, before you commit to a product.
- Hollow tile backer, stud wall: plastic expansion anchor sized to the cavity depth, rated for the actual pull-out load of the fixture.
- Solid stone, dense cement board: removable mounting adhesive rated for vertical shear, not flat static weight.
- Either substrate, no load-bearing requirement: tension or clamp mount, no fastener at all.
- Existing junction box present: reuse the box’s mounting screws, skip anchors and adhesive entirely.

Mounting Method and Substrate Reference
| Substrate Condition | Mounting Approach | Key Consideration |
|---|---|---|
| Hollow tile backer or stud-backed wall | Compatible mechanical anchor | Confirm cavity depth, support and pull-out rating. |
| Solid stone or dense cement board | Suitable removable adhesive where permitted | Verify sustained vertical shear and fixture load. |
| Opposing suitable surfaces | Tension or clamp mounting | Check clamping range, contact pressure and surface friction. |
| Existing electrical junction box | Compatible mounting bar or bracket | Verify box and bracket support capacity. |
Documenting Rough-In Before Any Swap
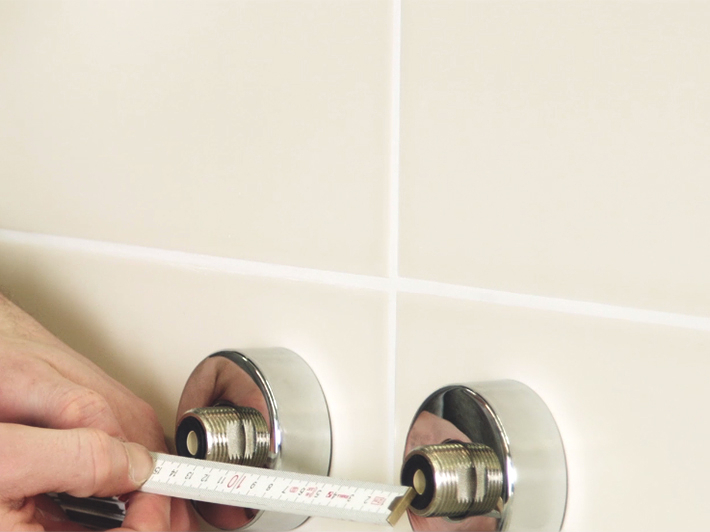
Before removing the original fixture, photograph the valve and drain centerlines, the escutcheon OD, the finish and model if it’s printed anywhere accessible, and the condition of the caulk or grout joint around it. This is not a courtesy to the landlord; it’s the only record you’ll have of where the new fixture has to land on reinstall. Centerlines shift visually once a fixture is off the wall and there’s nothing to reference them against, and memory is not a substitute for a photo with a tape measure in frame.
Read More Read Less
If the fixture is a shower head and the swap is purely cosmetic, this is also the point to check flow rate and spray pattern compatibility rather than assuming a drop-in replacement. Federal flow cap is 2.5 gpm, California caps at 1.8 gpm, and a rain-pattern head draws differently than a handheld on the same 1/2 inch NPT supply, which affects perceived pressure even when the rating is identical. A current shower head range will typically list flow rate and pattern type together on the spec sheet, which is the information you actually need before ordering, not the finish photo.
Pre-Swap Documentation Reference
| Item to Record | Required Information | Reinstallation Purpose |
|---|---|---|
| Valve and drain centerlines | Photograph with a measuring tape. | Restore the original fixture position. |
| Escutcheon outside diameter | Record original plate size and coverage. | Conceal existing holes and wall marks. |
| Original finish and model | Record accessible product identification. | Match the original visible fixture. |
| Tile and grout condition | Photograph joints and adjacent surfaces. | Compare surface condition after removal. |
| Shower flow and connection | Confirm flow rate, spray pattern and thread compatibility. | Check replacement compatibility. |
Reversing the Detail Without Visible Scars
Reinstallation is where the upfront documentation pays off. Match the original centerlines from your photos, reinstall the original escutcheon over any oversized cover plate you used, and inspect the substrate for anchor holes or adhesive residue before calling the job done. Adhesive residue on stone usually needs a plastic scraper and the adhesive manufacturer’s specified remover, not a solvent chosen because it’s on hand; the wrong solvent can dull a polished finish faster than the adhesive itself would have damaged it.
Read More Read Less
If an expansion anchor was used in tile backer, the hole it leaves is typically small enough to be invisible once the original escutcheon is back in place, provided the escutcheon OD was sized correctly at the start. This is the entire logic of the oversized-escutcheon approach: the hole exists, but nothing in the final assembly reveals it.


What to Check Before You Start
Confirm the substrate type (hollow backer versus solid stone or dense board) before selecting anchor or adhesive, not after. Photograph every centerline and escutcheon OD on the original fixture before removal. Buy escutcheons sized to the largest disturbance you expect to create, not the fixture’s minimum clearance. If the fixture carries real load and there’s no existing junction box or stud to anchor into, use a tension or clamp mount instead of trusting adhesive or anchors to carry a cantilevered load over a lease term. When the substrate is unclear or the fixture is heavier than a typical light or showerhead, get a second opinion from someone who can verify the wall assembly before you commit to a fastener.