
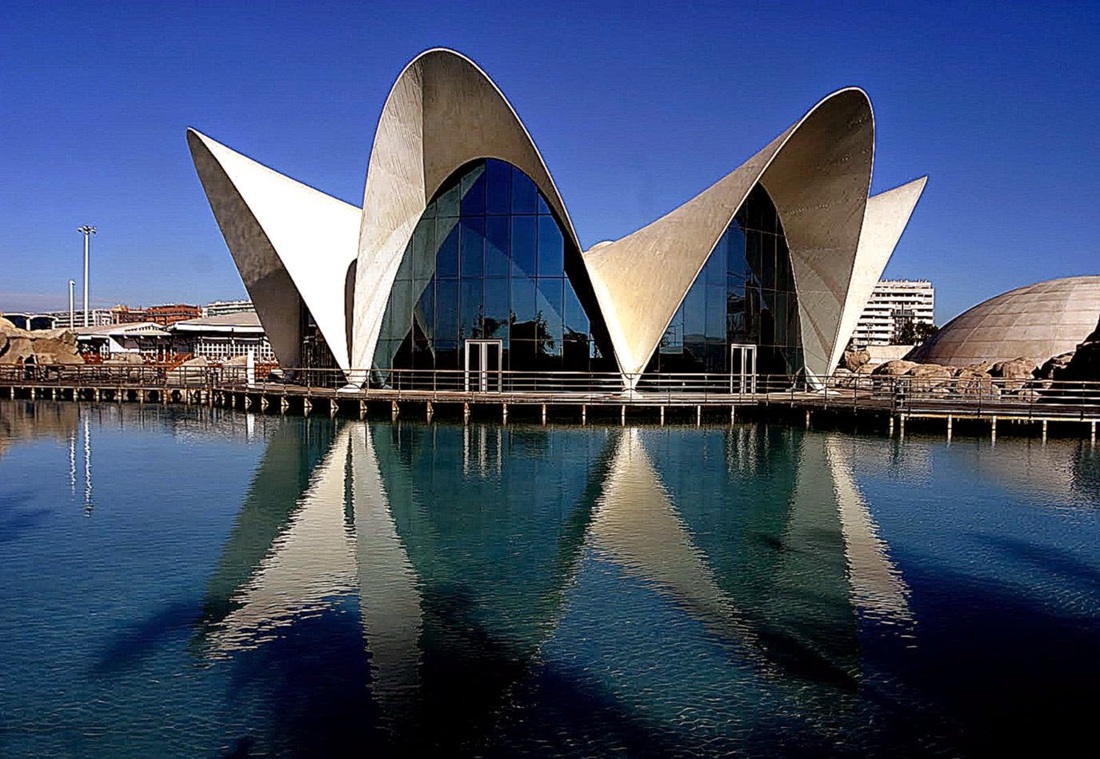
Visual Inspiration: The Power of Portfolios in Architecture
Architecture is more than structures—it is storytelling through space, form, and light. One of the most effective ways architects communicate this story is through visual portfolios. A portfolio is not just a collection of drawings, renderings, and photographs; it is a curated journey that captures the essence of a designer’s vision, process, and identity.
Visual Inspiration: The Power of Portfolios in Architecture
Ultimately, a strong architectural portfolio is both a mirror and a beacon: it reflects the architect’s unique journey while guiding others to imagine what is possible in the future of design.
Portfolios also inspire broader audiences—clients, students, and even the general public—by transforming complex design principles into compelling visuals.
In today’s digital world, portfolios are no longer static books on a shelf. Interactive websites, immersive 3D walk-throughs, and minimalist Instagram feeds extend their reach to global audiences. The best portfolios balance aesthetics with clarity, blending polished presentation with authentic sketches and conceptual explorations.

Diane Perez
ABOUT
Profession: Certified Home Renovation Specialist & Project Manager
Experience: 20+ years leading bathroom and kitchen remodels
Focus Areas:
Hands-on renovation guides
Professional DIY methods for homeowners
Sustainability and sequencing in remodels
Clean, lasting finishes

Featured Articles
[Install a Free standing Bathtub (Contractor-Approved)] – A detailed, expert guide on bathtub installation with pro techniques.
[Top 5 DIY Bathroom Mistakes — and Fixes] – Common errors in bathroom projects and how to avoid or repair them.
[Eco-Friendly Shower Systems: What to Choose] – A breakdown of sustainable materials, fixtures, and water-saving systems.

Install a Freestanding Bathtub (Contractor-Approved)
By Diane Perez
Install a Freestanding Bathtub (Contractor-Approved)
Freestanding bathtubs bring instant elegance and spa-like serenity to any bathroom. But achieving that sculptural centerpiece requires more than simply setting the tub in place. As a renovation specialist, I’ve led countless installations — and the difference between a showpiece and a headache lies in planning, placement, and precision.
1. Plan Before You Lift
Start with structure and layout. Confirm the floor can support the tub’s filled weight — especially for cast iron or stone designs. Reinforce joists if necessary. Next, measure for clearance: you’ll need at least four inches around all sides for cleaning and maintenance. Mark the tub’s footprint on the subfloor and double-check your drain location aligns perfectly with the tub’s waste outlet. Small misalignments can turn into major plumbing adjustments later.
2. Plumbing Preparation
Freestanding tubs often use exposed floor-mounted fillers or wall spouts. Choose your plumbing style early; it determines rough-in height and water line positioning. For concrete floors, you may need to cut channels for drain and supply lines — a job best handled before tile or flooring goes down. Always perform a dry fit to ensure trap alignment and accessibility before sealing anything in.
3. Set the Tub Right
Once plumbing is prepped, it’s time for placement. Clean the floor thoroughly, then apply a bead of silicone around the drain flange and beneath the tub’s base for stability. With a helper, carefully lower the tub into position. Confirm its level using a carpenter’s bubble and make micro-adjustments as needed. Connect the drain and run a quick leak test before final anchoring.
4. Finishing Touches
Seal the base perimeter with mildew-resistant silicone, wipe excess immediately, and let cure for 24 hours. Reconnect water lines, then fill the tub partially to test for stability and drainage speed. Finally, polish and inspect for even gaps and clean seams — the subtle details that define a pro-level finish.
Expert Tip
When possible, install the tub after walls are painted and floors are sealed but before final caulking and trim. This sequencing prevents finish damage and ensures a cleaner install.
A freestanding bathtub is more than a fixture — it’s the centerpiece of calm. Installed correctly, it promises years of function, beauty, and effortless relaxation.

Top 5 DIY Bathroom Mistakes — and Fixes
By Diane Perez
Top 5 DIY Bathroom Mistakes — and Fixes
Tackling a bathroom renovation yourself can be rewarding — until small missteps lead to leaks, uneven tile lines, or stubborn grout stains that never seem to disappear. After managing hundreds of remodels, I’ve seen the same five DIY mistakes come up time and again. The good news? Each has a smart, simple fix.
1. Skipping the Waterproofing Layer
The Mistake: Relying on tile and grout alone for moisture protection.
The Fix: Always install a waterproof membrane behind shower walls and under tile floors. Liquid membranes or sheet barriers keep water out of drywall and framing — saving you from hidden mold and costly repairs later.
2. Poor Ventilation Planning
The Mistake: Installing a beautiful bathroom with no plan for steam removal.
The Fix: Add an exhaust fan rated for your bathroom’s square footage, ideally vented outdoors. For smaller baths, a window alone isn’t enough — moisture will still linger. Look for humidity-sensing fans that automatically turn on when levels rise.
3. Uneven Tile and Grout Lines
The Mistake: Rushing the layout or skipping spacers.
The Fix: Dry-lay your tile first to plan even spacing and minimize small edge cuts. Use quality spacers and a level throughout installation. For a clean finish, mix grout to peanut-butter consistency and wipe joints diagonally with a damp sponge before haze sets in.
4. Ignoring Plumbing Tolerances
The Mistake: Setting fixtures before confirming pipe depth or wall finishes.
The Fix: Double-check rough-in measurements before closing walls. Even ⅛-inch misalignment can cause faucet handles or valves to sit unevenly. Use adjustable valves and extension kits when needed — they’re small investments that save major frustration.
5. Using the Wrong Caulk
The Mistake: Applying general-purpose silicone or acrylic around tubs and tile joints.
The Fix: Use mildew-resistant, 100% bathroom-grade silicone. It stays flexible and resists yellowing. Smooth with a gloved finger or finishing tool, then let it cure fully before exposing it to water.
Final Takeaway
A polished bathroom isn’t about cutting corners — it’s about sequencing smartly and respecting materials. With waterproofing, ventilation, precision layout, and the right sealants, your DIY bathroom can look and perform like a pro-level remodel.

Eco-Friendly Shower Systems: What to Choose
Creating a sustainable bathroom doesn’t mean sacrificing luxury.
Eco-Friendly Shower Systems: What to Choose
By Diane Perez
1. Water-Saving Fixtures That Don’t Feel Weak
Modern low-flow showerheads have come a long way from the trickle effect of old models. Look for fixtures labeled with the EPA WaterSense certification — they use no more than 2.0 gallons per minute (GPM) while maintaining strong pressure through air-infusion or pulse technology. Dual-mode heads are ideal, letting you switch between full spray and eco-spray modes for daily flexibility.
Pro Tip: Pair your showerhead with a thermostatic mixing valve. It maintains consistent temperature, reduces scalding risk, and eliminates the need to waste water adjusting the mix.

Eco-Friendly Shower Systems: What to Choose
2. Recycled and Renewable Materials
Sustainability goes beyond water conservation. Choose shower wall panels, bases, or tiles made from recycled glass, porcelain, or composite stone. These materials are durable, low-VOC, and easy to maintain. Bamboo or reclaimed wood accents add warmth without depleting resources, provided they’re sealed properly for moisture resistance.
For grout and sealants, use low-VOC, mold-resistant products to improve indoor air quality and reduce chemical exposure — a small step with lasting health benefits.

Eco-Friendly Shower Systems: What to Choose
3. Smart Drainage and Greywater Systems
A truly green shower system considers what happens after the water hits the drain. Greywater recycling units can capture and filter shower runoff for reuse in toilet flushing or landscape irrigation. In new builds, consider a heat-recovery drain system — it transfers warmth from used water to preheat incoming water, cutting energy consumption by up to 30%.
4. Efficient Installation and Maintenance
Sustainable design only works if it’s installed correctly. Proper sealing prevents leaks and wasted water, while regular descaling maintains flow efficiency. Opt for fixtures with easily replaceable cartridges and universal parts to extend lifespan instead of replacing entire units.
An eco-friendly shower isn’t just a trend — it’s a smarter, cleaner, long-term investment. By combining efficient fixtures, sustainable materials, and thoughtful water management, you can create a shower space that feels luxurious, performs beautifully, and protects the planet drop by drop.
Diane Perez
Creating a sustainable bathroom doesn’t mean sacrificing luxury. Today’s eco-friendly shower systems combine beautiful design with high-efficiency performance — helping you save water, energy, and money while still delivering that rejuvenating, spa-style experience. The key is choosing the right mix of fixtures, materials, and systems from the start.
ABOUT
Profession: Certified Home Renovation Specialist & Project Manager
Experience: 20+ years leading bathroom and kitchen remodels

Diane Perez
Focus Areas: Hands-on renovation guides, Professional DIY methods for homeowners, Sustainability and sequencing in remodels, Clean, lasting finishes
Interactive websites, immersive 3D walk-throughs, and minimalist Instagram feeds extend their reach to global audiences.
In today’s digital world, portfolios are no longer static books on a shelf.

Sustainability and sequencing in remodels
A polished bathroom isn’t about cutting corners — it’s about sequencing smartly and respecting materials.

Smart Drainage and Greywater Systems
A truly green shower system considers what happens after the water hits the drain.
